I'm pretty sure that your kidmin leader job description doesn't list 'Skills and expertise in graphic design' as one of your key requirements. But I'm also sure that, unless you've found a rare and wonderful graphic design volunteer (or have the funds to pay for one) you're creating a lot of your own flyers, brochures, powerpoint slides and presentations, and social media images.
Time consuming, is't it? Yet communication today places a high emphasis on visual content. Paul Lester(“Syntactic Theory of Visual Communication”) comments:
“Something is happening. We are
becoming a visually mediated society. For
many, understanding of the world is being
accomplished, not through words, but by
reading images.”
In other words, the images, the graphic design we prepare for our kidmin content and communication does more than look pretty.. it enables kids and families understand what we're talking about.
That really raises the level of importance we place on graphic design in our teaching and communication.
But don't despair... there are tools, many of them free.. that can help you create quality, appealing images that will grab attention and help you present a clear and memorable message.
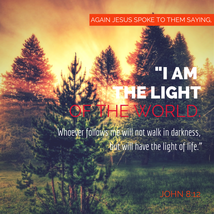
I've started with Canva because this is my default tool- the graphic design program that I go to without even thinking. It's both an online program and a downloadableiPad app, which makes it great for on-the-go.
It's also free! Canva provides ready-made templates for many formats: social media, presentation, poster, blog image, Facebook or Twitter post, card, document, Pinterest, flyer, collage... Choose a template, upload your photos, alter the wording and you're ready to download the finished graphic. There are plenty of ways to personalise your design, too, with filters, different colours, blurs, transparency and more. I create most of my blog images with Canva. Check out the 'how-to' video below.
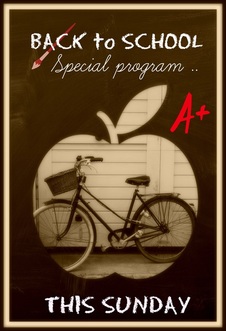
This free, and subscription-based, online program allows you to edit photos, add words and create collages. There are so many options. You'll find plenty of filters, fonts, stamps, borders, stencils, colours, overlays, exposures, textures and list goes on.
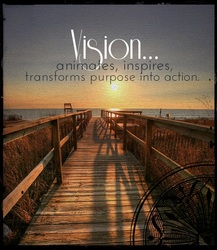
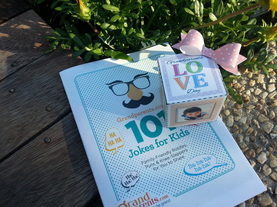
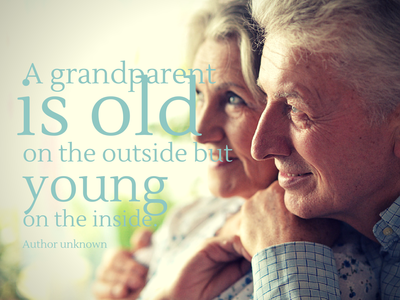
As you can see, I love using PicMonkey's stencils and stamps. I applied a sepia filter for this image to create a retro look. Some of PicMonkey's effects are grouped under a theme which makes it easier to edit and achieve a certain look. Try creating a collage, too.. it's addictive.
A particularly helpful feature is the resize option. You can also download your finished graphic in a choice of resolution quality. It's helpful to be able to differentiate between a quick-loading blog image or a higher quality graphic for printing.
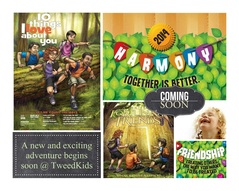
I've highlighted Smilebox before. If you haven't had a chance to investigate this program, then now is your opportunity. Yes, it's great for creating digital cards, invitations, scrapbooks, movie clips and slideshows with your photos and images. (You can print them, too.) But the images made with this program can be saved and used in powerpoint slides or other uses. This program needs to be downloaded to use (free) though I think it's worth the small fee for the full version.
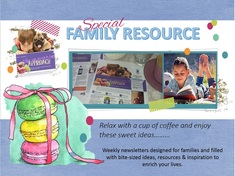
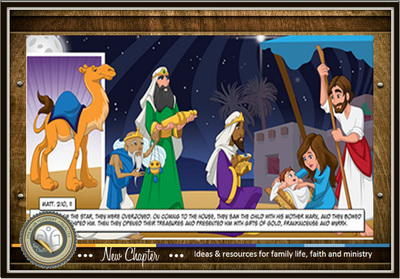
For example, I created this image in Smilebox, saved it and used it as a powerpoint slide to promote an upcoming kidmin program. Instructions for creating a movie clip with Smilebox can be found here...
This program is not free, sorry. But... it's relatively inexpensive. For years, I've used Publisher (Microsoft) for my document creation and yes, it's wonderful. But, and it's a big 'but'..it's expensive. Not only that, you need to regularly upgrade which equals more money.
So now I use Publisher Pro. It's as good if not better. It comes with wonderful, professional-quality templates, (I love templates) and even allows me to easily include the 'bleeds' needed to send my work for professional printing.. And yes, you can save your document as a pdf if you require.
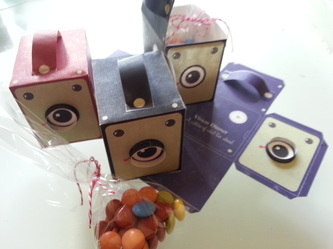
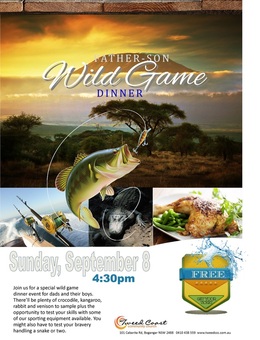
I created this flyer for a special Father-Son event using a template with Publisher Pro. But you can create brochures, newsletters, calendars, cards, business cards, invoices, posters and office stationery.
And.. upgrades are free.
Microsoft Powerpoint is one little program that is really under-appreciated. You probably already have a version installed on your computer. Well, I'd recommend that you open it up and start using it. It's great! The things you can do with the image editing of Powerpoint is astonishing. Did you know you can turn a white (or other colour) background transparent with one click with Powerpoint? (Don't forget to save the image in png format or you'll lose the transparency.) Did you realise you can remove any or some of an image's background with Powerpoint?You can create icons and creative word images. You can create infographics.
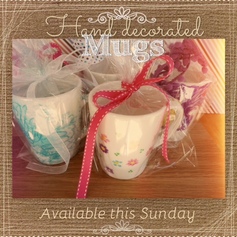
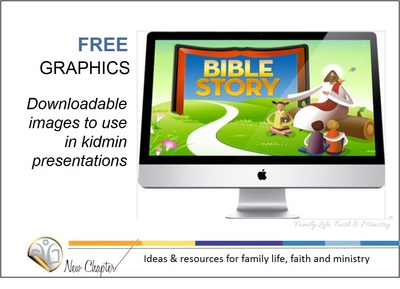
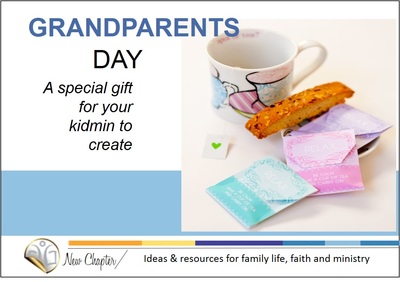
This image, for example, was created with Powerpoint. Try Powerpoint and see!
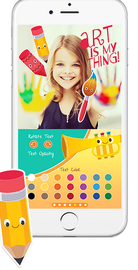
 6. TYPIC+ This last little graphic tool is an app and, unfortunately, it's only available on iTunes- sorry. But it's so helpful, I thought I'd include it anyway. I use it for those times that I need to create a social media image on the run. With this app, you can add effects or filters, words, stamps, borders, textures.. even your logo. And you can upload it instantly to your social media. There's also a kids version that you might like to check out. |







 RSS Feed


